Getting started
Setting up Ludin
Ludin is unlocked with an access code rather than an account. Here's how to redeem it, and what you're looking at once you're in.
Redeem your access code
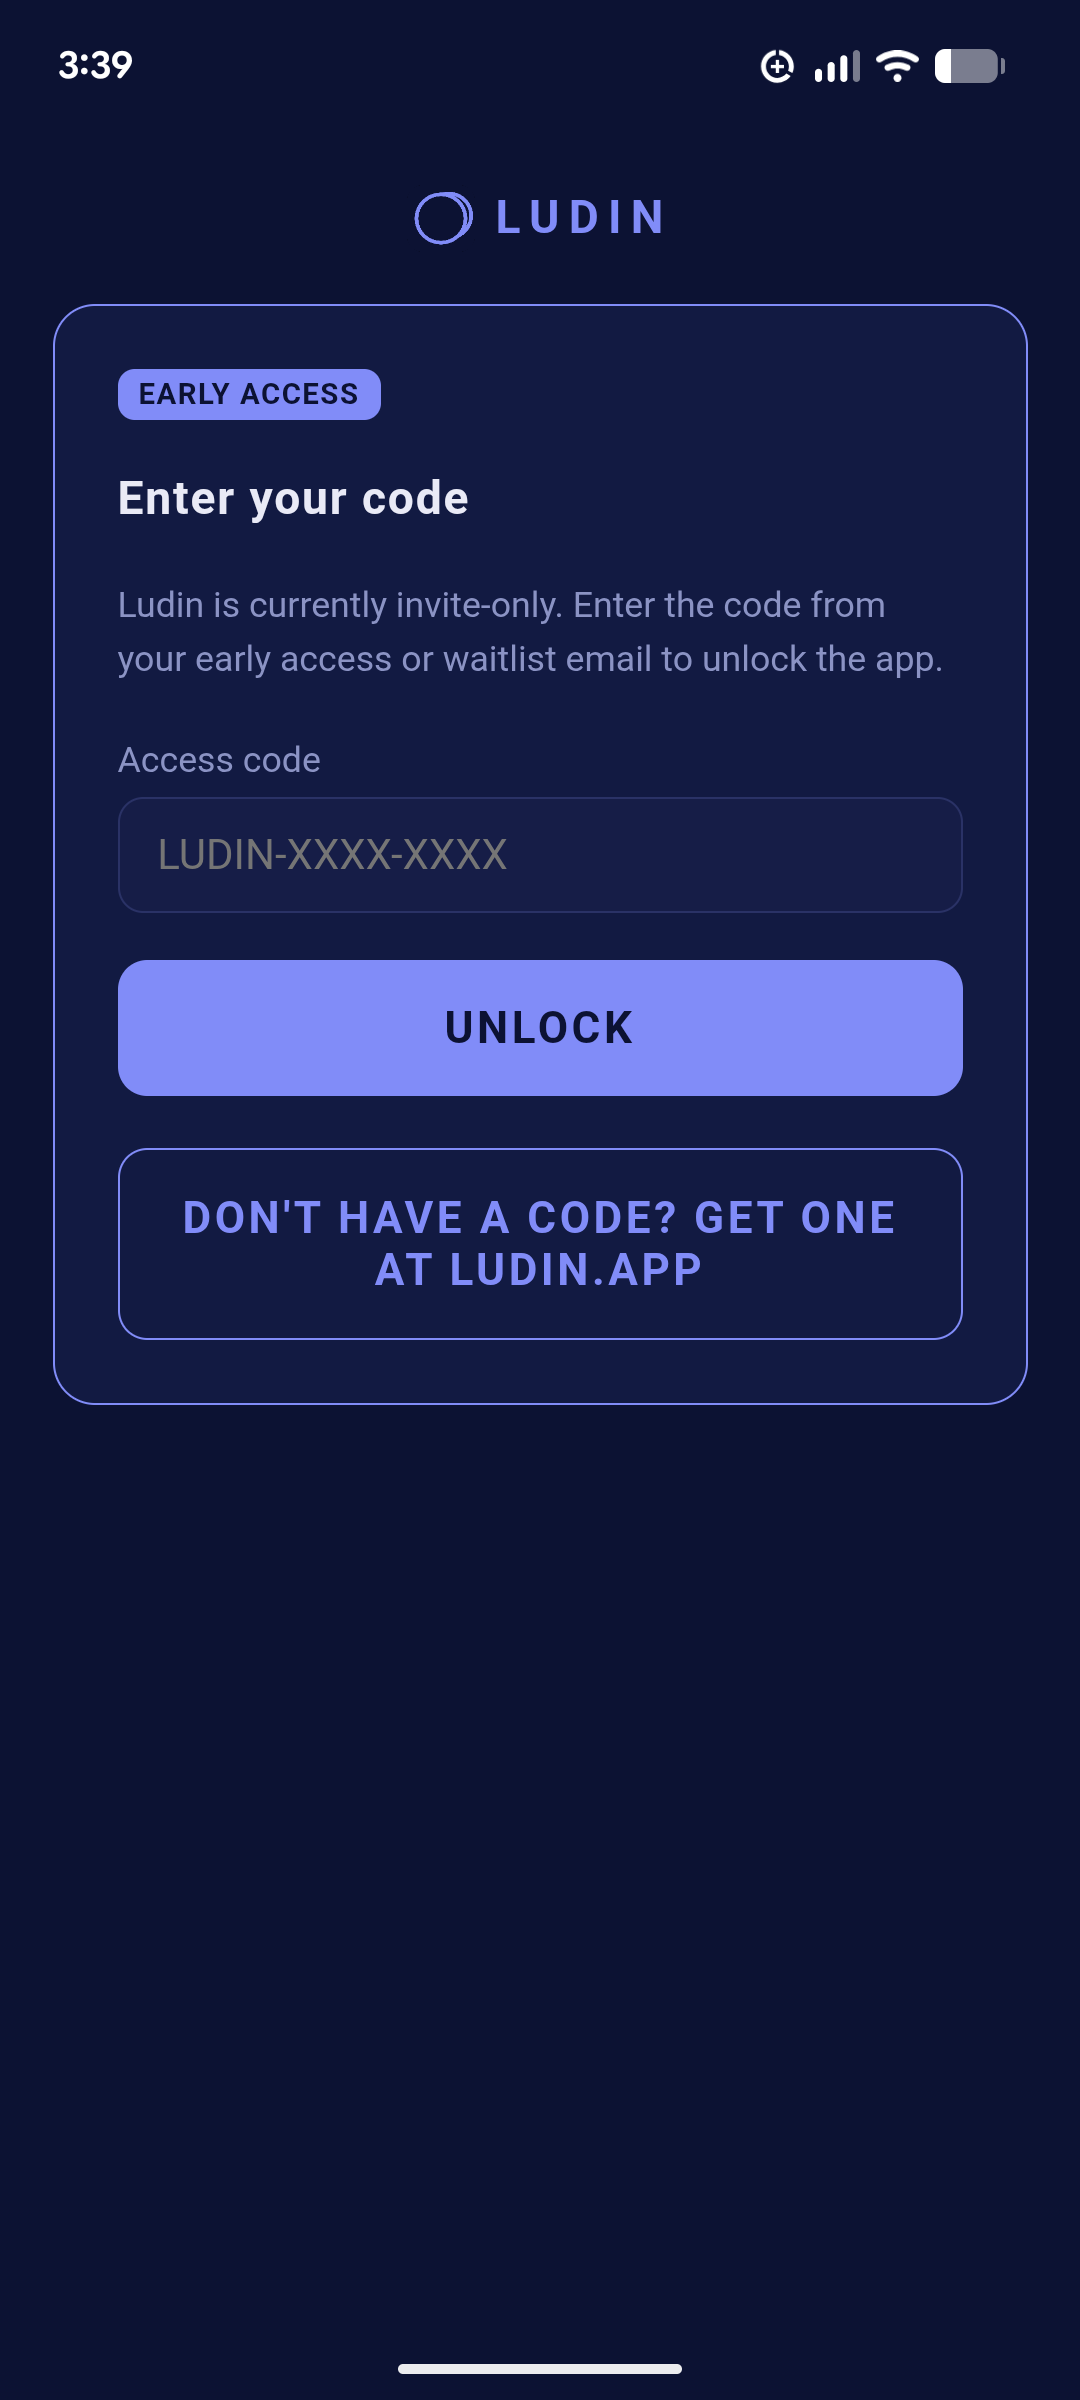
Ludin is currently invite-only. Your code arrives in your early access or waitlist
email and looks like LUDIN-XXXX-XXXX.
- Find your code. Check the early access or waitlist email you were sent — including your spam folder, which is where it most often ends up. No code yet? Get one at ludin.app.
- Open the app. The first screen is Enter your code. There's no email, password or account to create — the code is the whole login.
- Type it in and tap Unlock. Each code activates on one device only, so enter it on the phone you actually sleep next to.
- You're in. The code doesn't need to be re-entered on that device again.
docs/images/access-code.pngCode not working, or changing phones? Email ludindreaming@gmail.com and we'll sort it out. Because codes are tied to a single device, a new phone needs a hand from us rather than a re-entry.
How the app is organised
Everything lives under two top-level sections, switched with the buttons under the Ludin wordmark:
- Sleep Tools — the supporting practice. A Sleep Journal for recall and dream signs, Timed Audio for spoken induction cues, and a WBTB Timer for waking at cycle boundaries.
- Smart REM — the light-flash inducer itself, in Time-Based and Sensor-Based modes.
Within Sleep Tools, a second row of buttons switches between Journal, Timed Audio and WBTB. Within Smart REM, a second row switches between Time-Based and Sensor-Based.
The black screen
Every timed sequence in Ludin — Timed Audio, WBTB, and both Smart REM modes — blacks the screen out completely once armed. That's deliberate: a glowing phone next to your face makes falling asleep harder and pollutes the very cue you're waiting for.
To get back to the app, tap anywhere on the black screen. This is the single most useful thing to know before your first night — the screen isn't frozen or crashed, it's waiting.
The one rule that matters most
Don't arm the cue tools at bedtime. The flashing modes (Time-Based, Sensor-Based) and Timed Audio are all designed to be armed as you go back to sleep — after a WBTB wake, or at the start of a midday nap. That's when REM comes quickly and runs long. Armed at the start of a normal night, they spend hours cueing into non-REM sleep, where there's very little dream to become lucid inside.
So the shape of a session is always the same: wake at a cycle boundary (or lie down for a nap) → stay up 15–30 minutes if it's WBTB → arm one cue tool → go back to sleep.
Your first few days
Pick one tool rather than arming everything at once. You want to know which thing produced which result, and stacked cues are more likely to wake you than to make you lucid.
- Days 1–3: journal only. Run the Sleep Journal on its own for three days. Recall comes first — a lucid dream you can't remember doesn't count for much, and three mornings is enough to start seeing your recurring elements.
- Then add a cue, on a nap or a WBTB night. A midday nap is the gentlest place to start: no broken night, and REM arrives fast. Time-Based flashing or Timed Audio are both good first cues.
- Then move to Sensor-Based. Sensor-Based flashing is the mode that uses the REM model — the thing Ludin exists for. Same nap-or-WBTB rule applies.
A guide to tuning the constants — how to pick delays, thresholds and burst settings for your own sleep rather than running the defaults — is being written and will be linked from every page.